
Elements
Add Elements to Pages/Articles
Page and Article Elements allow you to add content that is not in the main content area that you would otherwise include in your Page or Article content window. These are also commonly known as widgets.
To add an Element to your Page or Article:
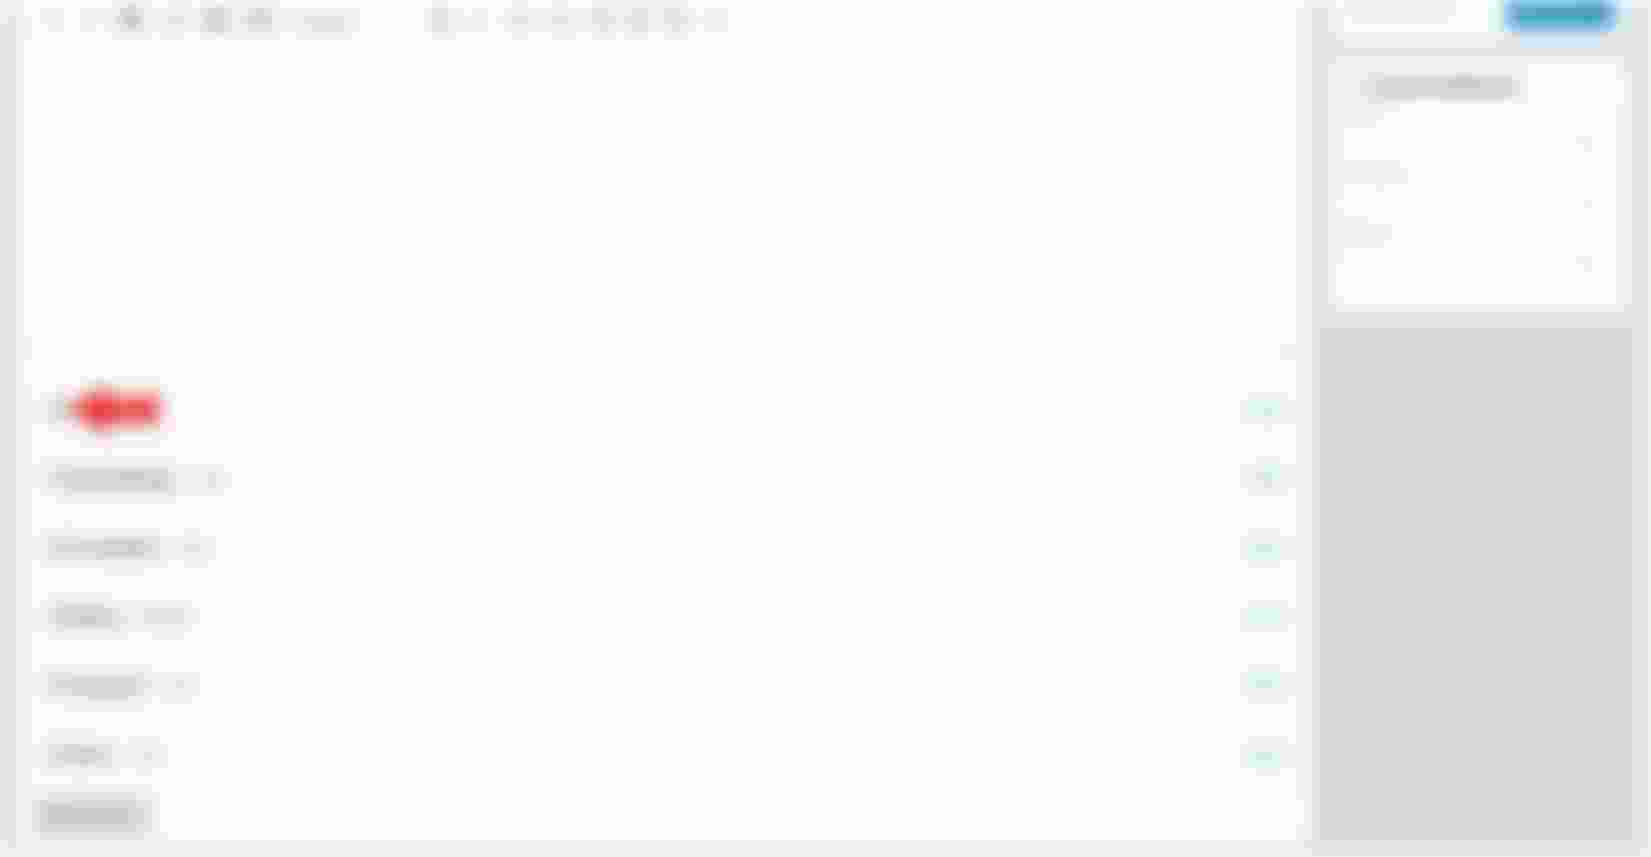
- Click the gray Add Element button on the bottom left of your Page or Article Content window:
 The gray Add Element button
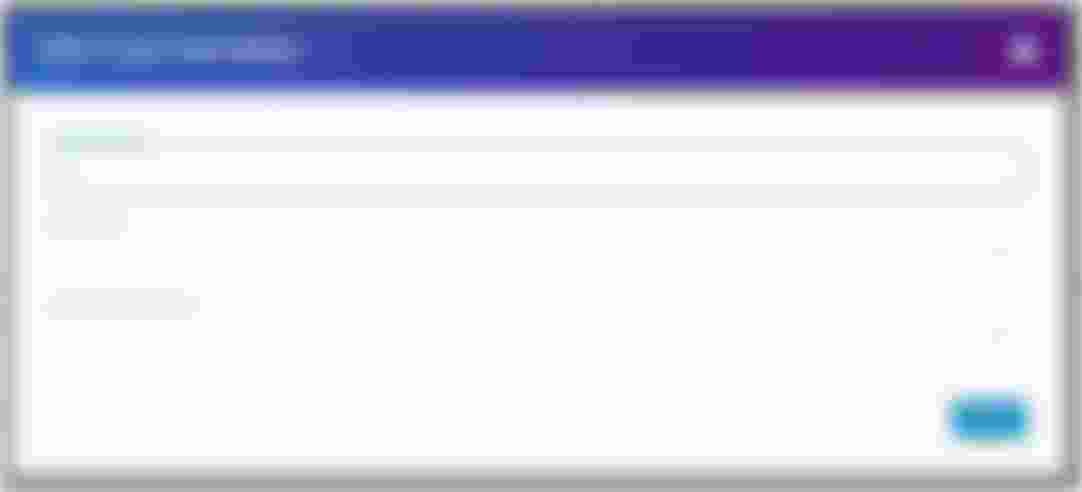
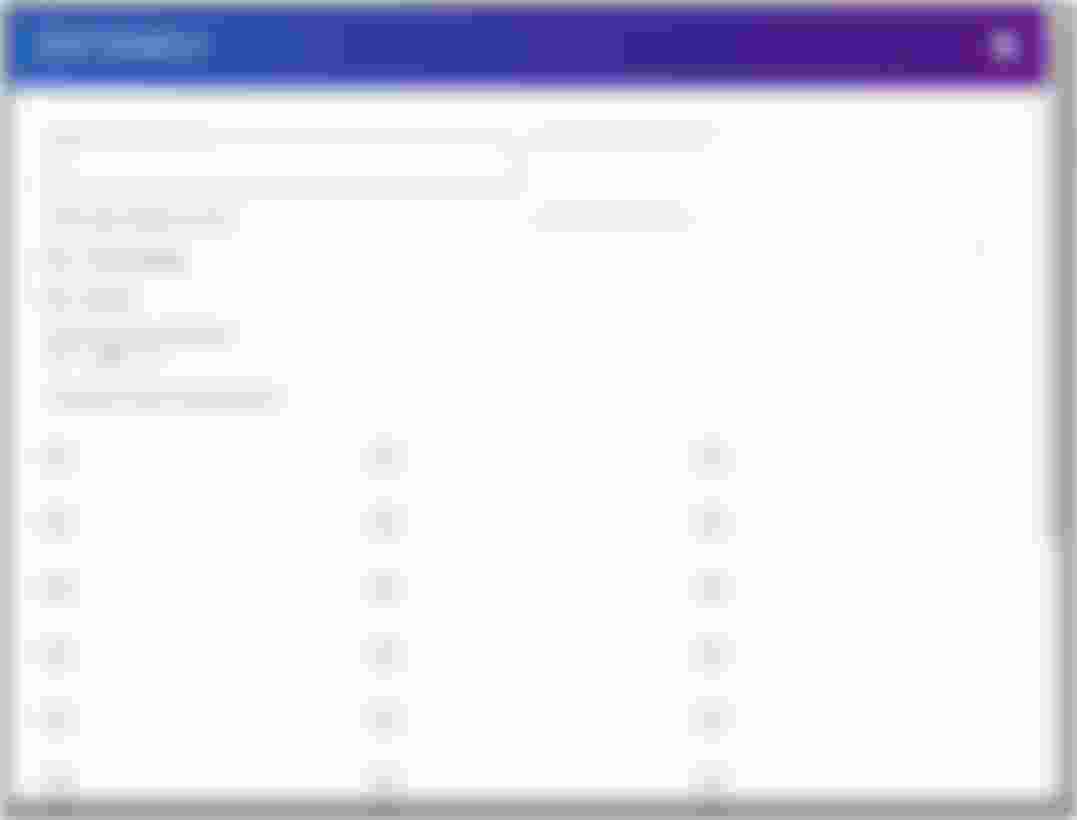
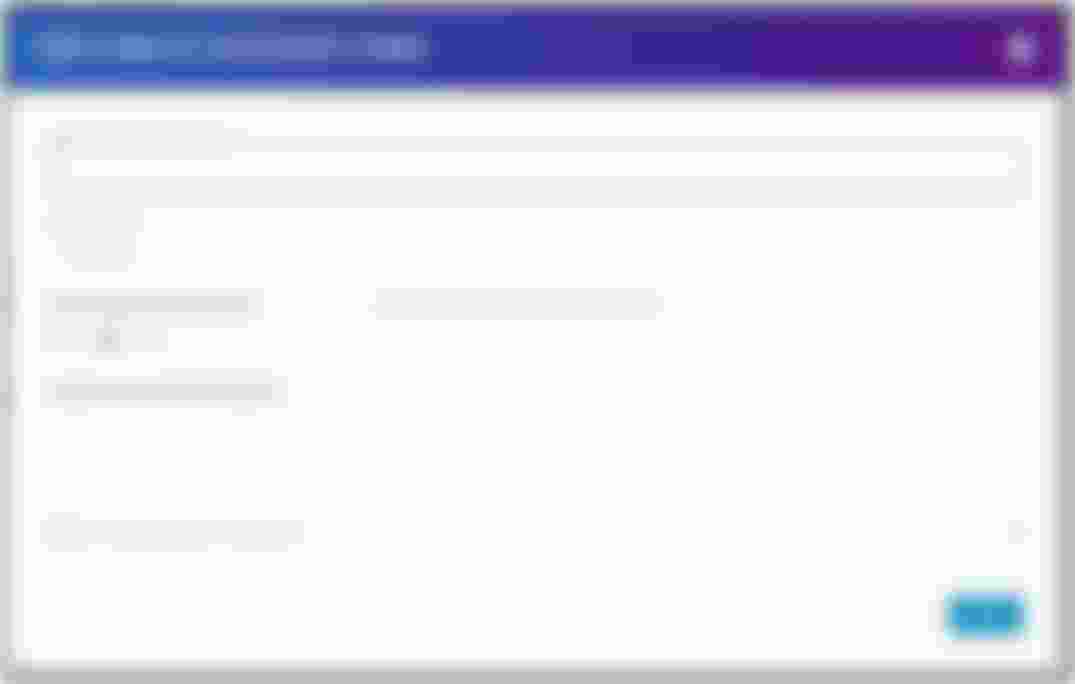
 - This Add New Element pop-up will appear:

The Add New Element pop-up
Elements that you can add to your Pages and Articles include:
- Rich Text: Text block with styling capabilities.
- Gallery: Showcase a set of photos.
- List: Styled list of descriptions, definitions, or FAQs.
- Custom Menu: Add a custom menu to your content area.
- Search Wizard: Add a walkthrough guide to your search.
- Breadcrumb: Add a breadcrumb to your content area.
- Search: Add a site search to your content area.
- Article List: Showcase a set of articles based on categories or tags.
- Form: Add a Form Builder form to your content area.
- Google Maps: Add a map to your content area.
- Raw HTML: Raw HTML and embedded scripts.
- Login Form: Allow users to log in.
- Create Account Form: Allow users to create a new account.
Arrange Elements on a Page/Article
When you add an element to a page, it will appear at the bottom of the content window underneath elements that you have added already.
To rearrange the order of these elements:
- Click and hold the hamburger to the left of the element you want to rearrange and drag up or down:
Example of the hamburger to the left of an element
Add a Rich Text Element
Using rich text elements allows you to input text, images, or media on a Page or Article that you can’t put in the content window.
To add a Rich Text element:
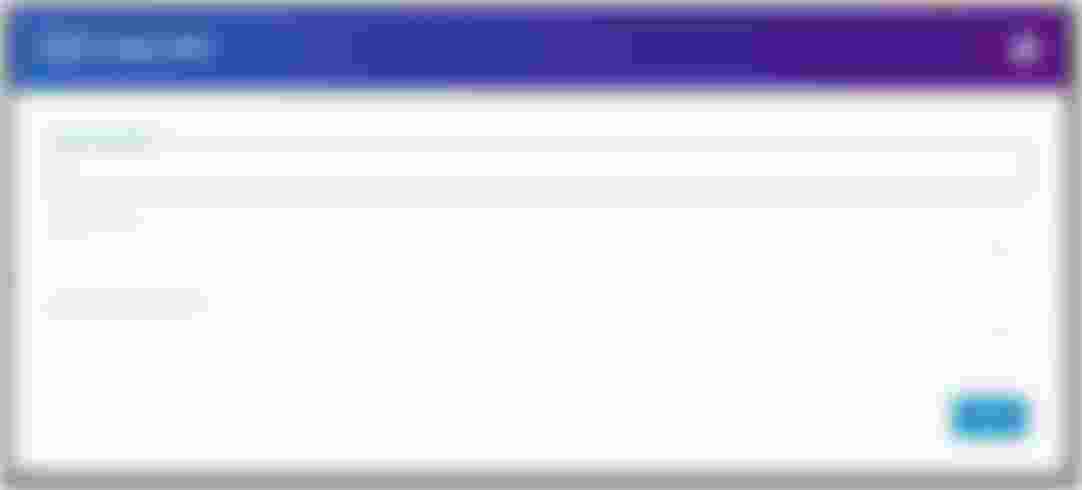
- Click the gray “Rich Text” button. This Edit Rich Text pop-up will appear:

Edit Rich Text pop-up - In the Name this rich text field, enter a logical name for this element. This is for your use only and is not published on your website.
- Enter content in the content window.
- In the CSS Class field, enter a CSS class if applicable.
- Click the blue Done button.
Add a Custom Menu Element
For more information - see Menus.
To add a Custom Menu element:
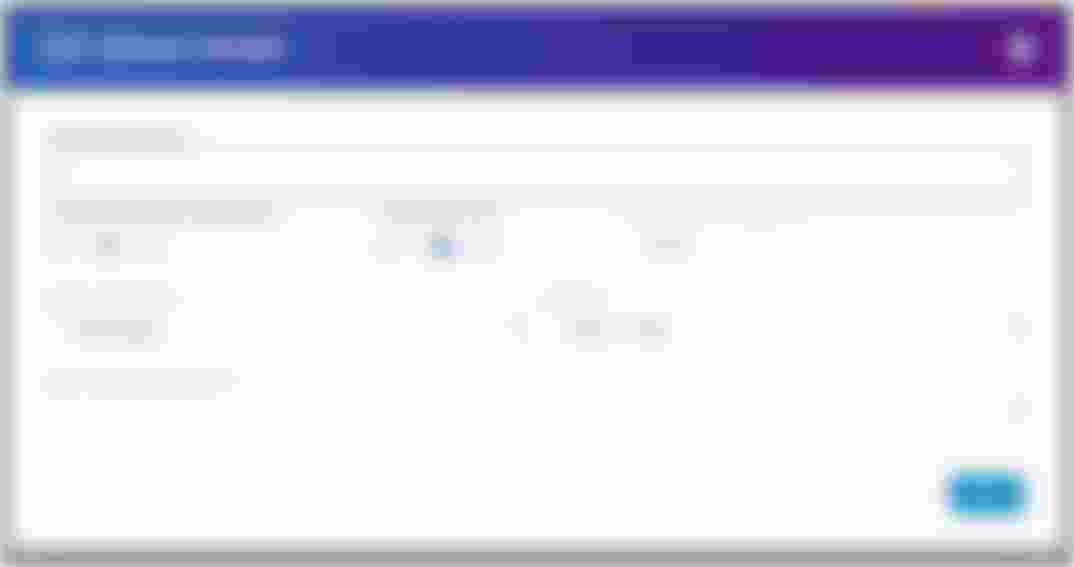
- Click the gray Custom Menu This Edit Custom Menu pop-up will appear:
Edit Custom Menu pop-up - In the Name this menu field, enter a name for your custom menu. This will be published publicly on the Page or Article.
- In the Menu to Use drop down, select the which menu you want to use.
- In the Which menu template? Drop down, select the menu template you want to use.
- Click the blue Done button.
Add a Gallery Element
Adding a Gallery to a Page or Article allows you to showcase a set of photos.
For more information - see Galleries.
To add a Gallery element:
- Click the gray Gallery buttton. This Edit Gallery pop-up will appear:
Edit Gallery pop-up - In the Name this gallery field, enter a logical name for this element. This is for your use only and is not published on your website.
- In the Gallery to use drop down, select the Gallery you want to use.
- In the Which gallery template? Drop down, select the Gallery template you want to use.
- Click the blue Done button.
Add a List Element
Adding a List to a Page or Article allows you to display information in the form of a list.
To add a List element:
- Click the gray List button. This Edit List pop-up will appear:
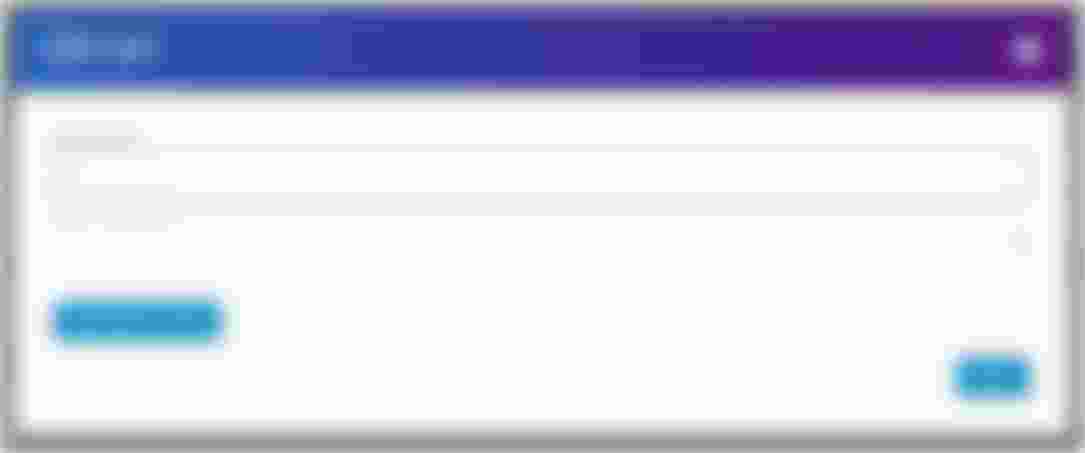
Edit List pop-up - In the Name this list field, enter a logical name for this element. This is for your use only and is not published on your website.
- In the Which list template? Drop down, select the List template you want to use.
- Click the blue Add New List Item button to add list items. This pop up will appear:

Add new list item pop-up - In the Title / Heading field, enter a title for your List item.
- In the Details content window, enter any details for your List item.
- To rearrange these list items, drag the list items up or down.
- To remove a List item, click Remove.
- Click the blue Done button.
Add a Search Wizard Element
To add a Search Wizard element:
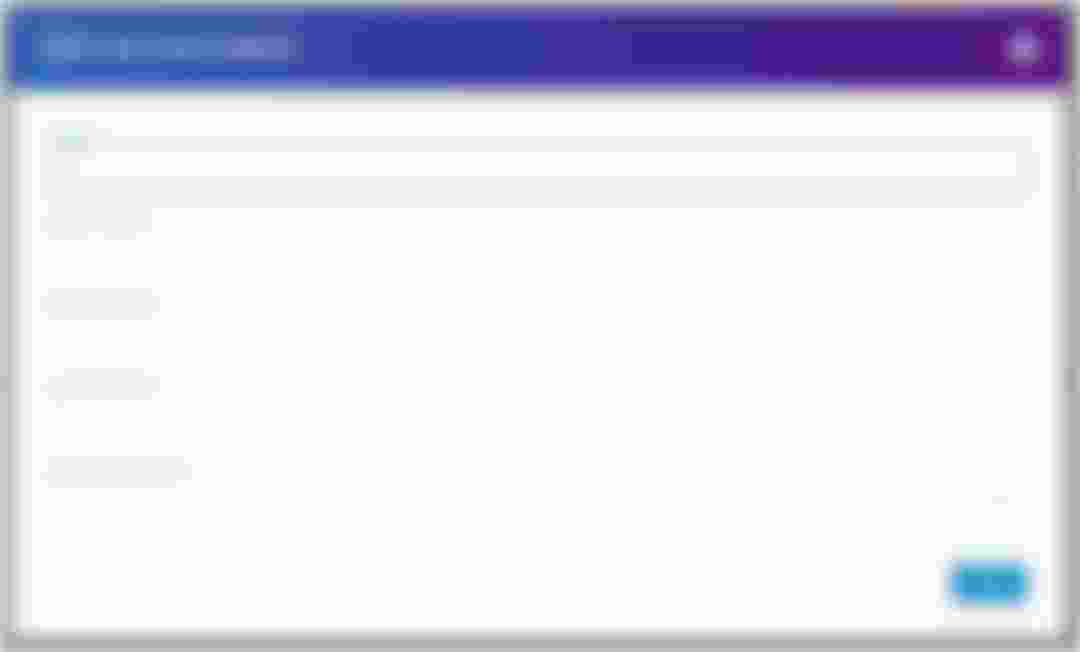
- Click the gray Search Wizard This Edit Search Wizard pop-up will appear:

Edit Search Wizard pop-up - In the Name this search wizard field, enter a name for the search wizard.
- In the Attributes to Step Through check boxes, select the attributes you want the search wizard to step through.
- In the Search Page to Lead To field, enter the URL path that you want the search page to lead to.
- In the Which search wizard template? Drop down, select the template you want your search wizard to have.
- Click the blue Done button.
Add a Search Element
To add a Search element:
- Click the gray Search This Edit Search pop-up will appear:
Edit Search pop-up - In the Name this search element field, enter a name for this element.
- In the How many results per page? Field, enter a number.
- In the Which type of page to search? Field, select ContentPage, Article, or both.
- In the Which search template? Drop down, select the template you want your search element to have.
- In the Display all search results until filtered slider, select either Off or On.
- Selecting On will display all search results unless the user filters them.
- >Selecting Off will display only search results selected in the Limit search results to these attributes field listed below.
- In the Limit search results to these attributes section, select the attributes you want to limit your search results to.
- Under the Display search filters for these attributes section, select the attributes you want to display search filters for.
- Click the blue Done button.
Add a Breadcrumb Element
To add a Breadcrumb element:
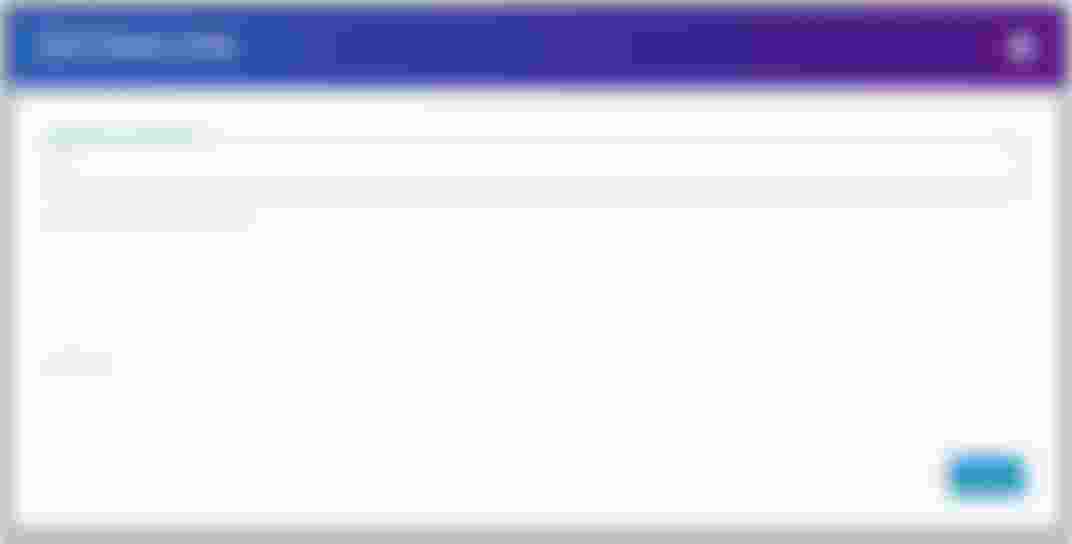
- Click the gray Breadcrumb This Edit Breadcrumb pop-up will appear:
Edit Breadcrumb pop-up - In the Name this breadcrumb field, enter a name for your breadcrumb. This is for your use only and is not published on your website.
- In the Include current page in breadcrumb? Field, select either No or Yes.
- In the Include ‘home’ link? Field, select either No or Yes.
- In the Home label (html supported) field, enter a name that the home link will be called in the breadcrumb if applicable.
- In the Display relationships drop down, you have three options.
- Parent pages
- Child pages
- Both parent and child pages
- In the Direction drop down, you have two options.
- Parent > Child
- Child > Parent
- In the Which breadcrumb template? Drop down, select the template you want your breadcrumb to have.
- Click the blue Done button.
Add an Article List Element
To add an Article List element:
- Click the gray Article List This Edit Article List pop-up will appear:

Edit Article List pop-up - In the Name this article list field, enter a name for your article list. This is the name your article list will publicly have published on your website.
- In the Attributes to filter By field, select all the attributes you want to include in your article list.
- In the How many articles to show? Field, enter the number of articles you want displayed.
- In the Which article template? Drop down, select the article template you want your article list to have.
- In the Order By drop down, you have 5 options
- Order by category
- Order by created date
- Order by posted date
- Order by title
- In the Direction drop down, select either ascending or descending for your Article List order.
- Click the blue Done button.
Add a Form Element
To add a Form element:
- Click the gray Form This Edit Form pop-up will appear:

Edit Form pop-up - In the Name this form field, enter a name for your form. This is what your form will be called publicly on your website.
- In the Which form to display? Drop down, select a form.
- In the Send submissions to these email addresses field, enter any email addresses that you want to receive form submissions. Separate emails with commas or semicolons.
- In the From this email field, enter the email addresses that the form submissions will be sent from.
- In the With this subject field, enter the subject line that the form submission emails will have.
- In the And blind-copy (BCC) these email addresses field, enter any email addresses you want to blind copy the form submissions emails. Separate emails with commas or semicolons.
- In the Which form template? Drop down, select a template you want your form to have.
- In the Submission ‘Thank You’ message content window, enter a message that will appear on the screen after a user submits a form.
- In the Submission Email – This message will be sent to the email addresses listed above field, enter a message to the recipients of form submissions.
- Adding parameters here will allow you to see certain things in the email such as first name, last name, email addresses, etc.
- In the Send email to user field, enter an email based on name of email field you create in the form.
- In the With this subject field, enter a subject for this email.
- If this field is left blank, the email subject will default to ‘Thank you for your submission.’
- In the Email to user message field, enter a message to the user.
- If this is left empty, it will not send an email.
- If the body contains empty HTML elements (e.g. empty paragraph tags) it will not detect that as empty and will still send the email. Be sure this is entirely empty if you don’t want to send email.
- Click the blue Done button.
Add a Google Maps Element
To add a Google Maps element:
- Click the gray Google Maps button. This Edit Google Maps pop-up will appear:
Edit Google Maps pop-up - In the Api Key field, enter your Google Maps API key.
- To find your Google Maps API key follow these instructions from Google.
- Identify the location you want the Google Maps marker to appear on the map.
- In the Marker Latitude field, enter the latitude.
- In the Marker Longitude field, enter the longitude.
- In the Height (in pixels) field, enter a height for your map.
- In the Which map template drop down, select a map template.
- Click the blue Done button.
Add a Raw HTML Element
To add a raw HTML element:
- Click the gray Raw HTML This Edit Raw HTML pop-up will appear:
Edit Raw HMTL pop-up - In the Name this raw HTML field field, enter a name. This is for your use only and is not published on your website.
- In the Raw HTML and embedded scripts field, enter the raw HTML and embedded scripts.
- In the CSS Class field, enter the CSS class if applicable.
- Click the blue Done button.
Add a Login Form Element
To add a Login Form element:
- Click the gray Login Form This Edit Login Form pop-up will appear:

Edit Login Form pop-up - In the Name this login form field, enter a name for your login form.
- In the Allow password reset? Slider, select either No or Yes.
- In the Username field label field, enter a label that will appear in the area where users will input their username.
- In the Registration URL field, if you have a registration page for new users, enter that URL.
- In the Registration link text field, enter text that the registration link will say. (e.g. sign up for a new account).
- In the redirect to this url field, you can enter URLs that will redirect users after they authenticate.
- In the Which login template? Drop down, select a login template.
- Click the blue Done button.
Add a Create Account Form Element
To add a Create Account Form element:
- Click the gray Create Account Form This Edit Create Account Form pop-up will appear:
Edit Create Account Form pop-up - In the Name this create account form field, enter a name for your form.
- In the Login page URL field, enter the login page URL.
- In the Automatic login after registration? Slider, select either No or Yes.
- In the Redirect the user to this page after registration field, enter the URL of the page you want to redirect users to if applicable.
- In the Which ‘create account’ template drop down, select a template you want to have.
- Click the blue Done button.