
AfterBurner™ Documentation
Forms
This is where you can view all the form submissions from users on your website.
View Form Submissions
This is where you can view all the form submissions from users on your website.
To view Form Submissions:
- Click the Form Submissions menu item.
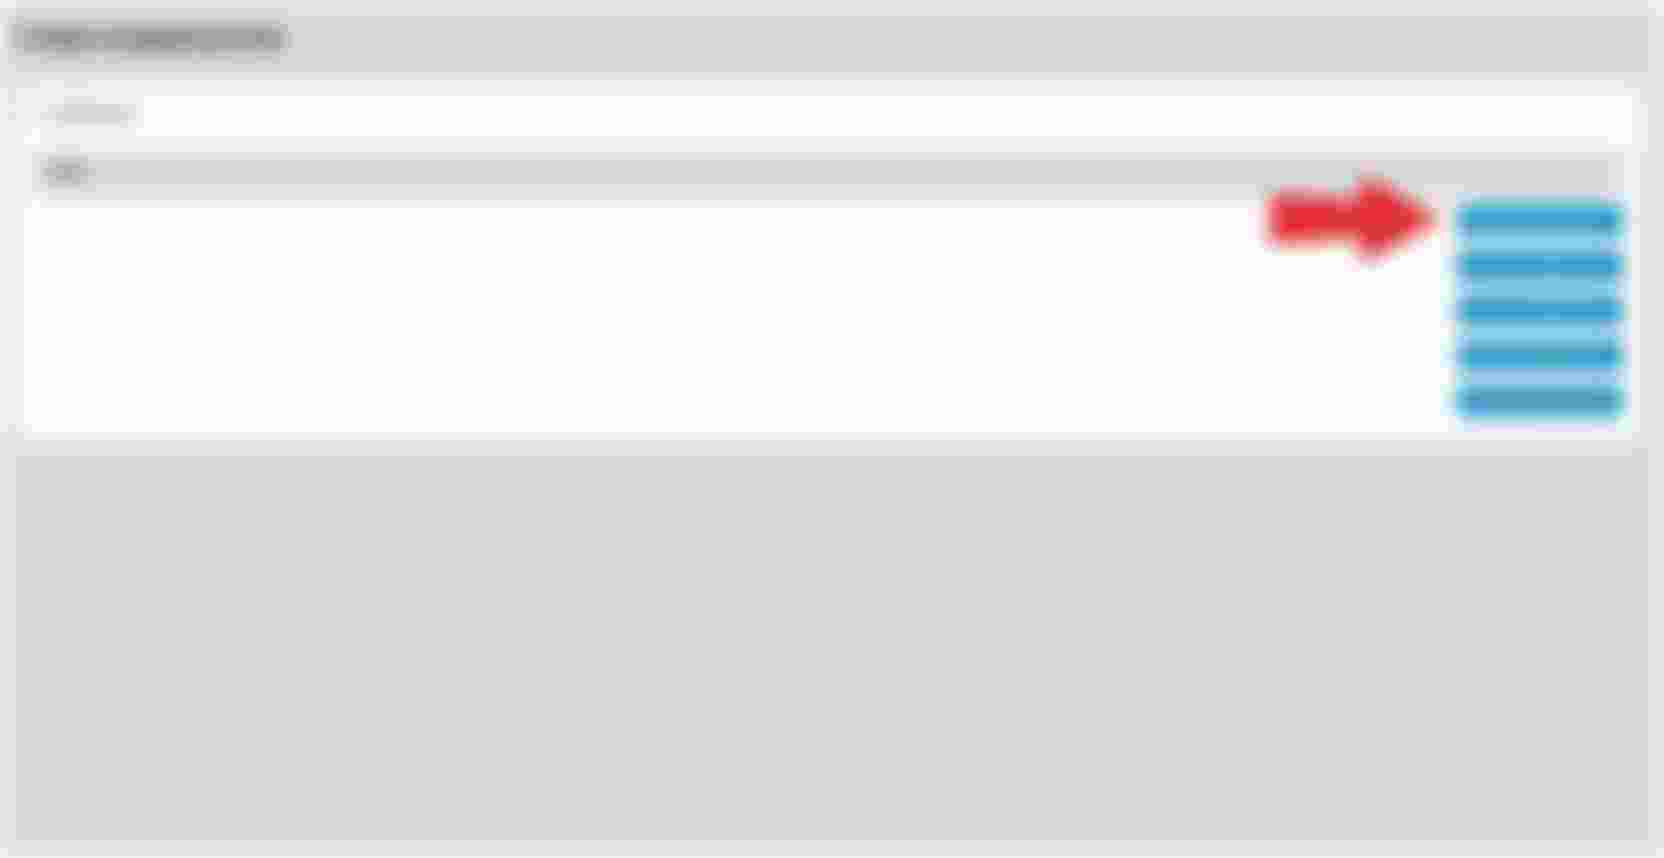
- You will be brought to a page with all your website’s forms. Click the blue View Form Submissions to the right of the form which submissions you want to view:
Example of using the blue View Form Submissions button to view a form's submissions - You will be brought to a list of all that form’s submissions:
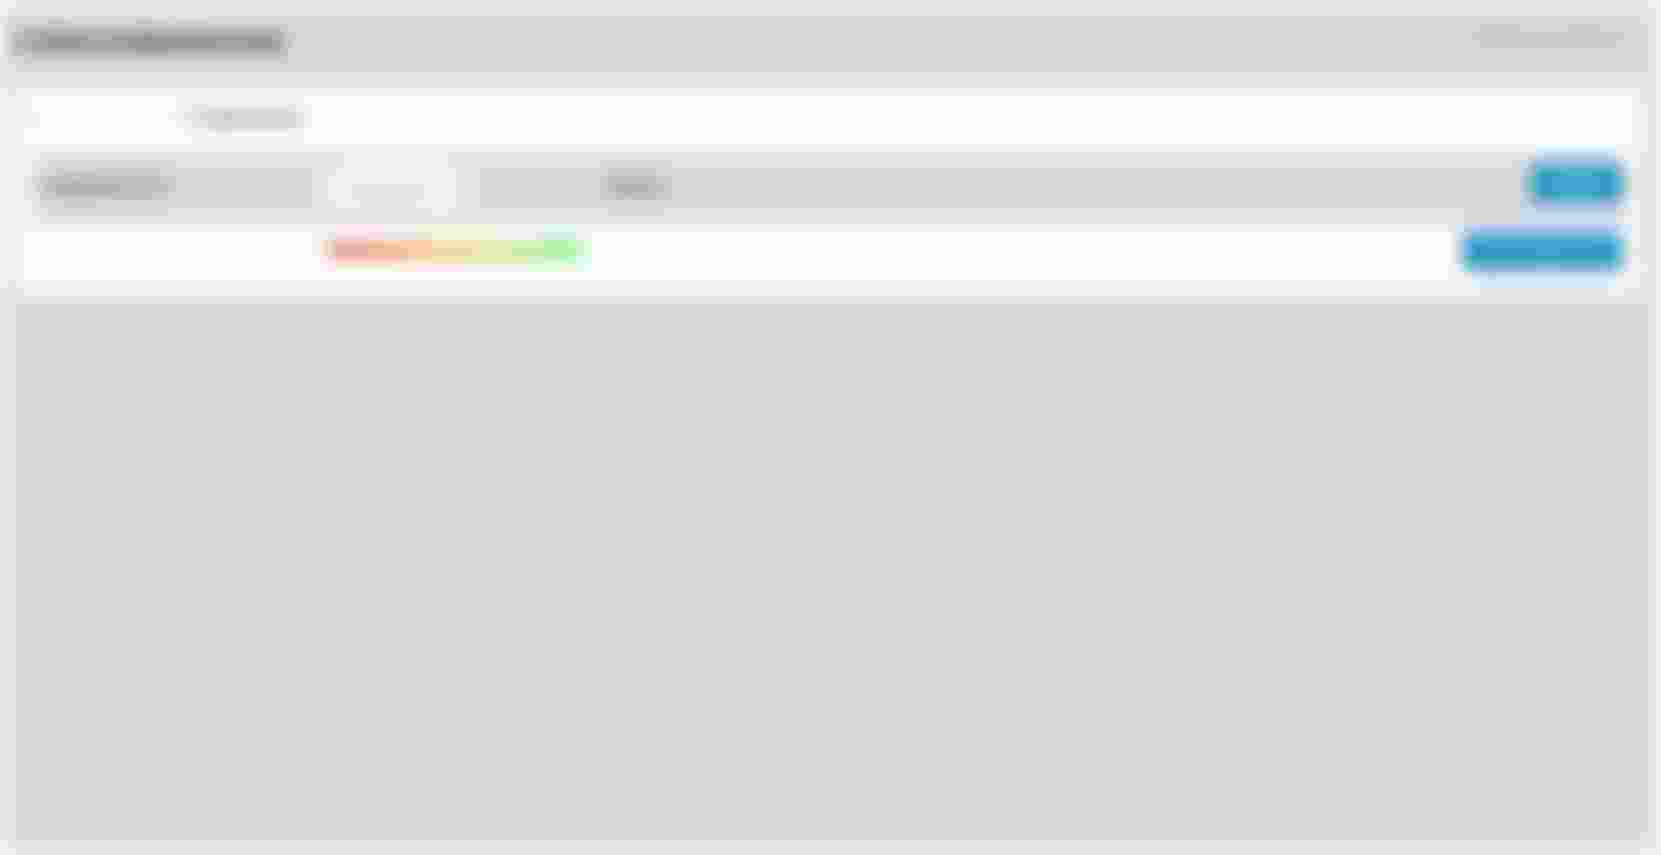
Example of viewing a form submission - Here you can view:
- Submissions Date – the date of the form submission.
- Passing Score – this is a drop down that allows you to view forms with a Passing Score, Suspicious, and All Scores.
- Preview – a preview of the form submission.
- Export – an option to export the form submission data to a CSV.
- To export form submissions, click the blue Export button on the right.
- You will be presented with a password for the zip file that contain the form submissions.
- Save this password, click I saved the password, and close this window. The zip file will download.
- Open the zip file and enter the password.
- Click the blue View button to the right of a form submission to view information on an individual form submission.
- Click the red trash can button to delete an individual form submission.
Create a Form (Form Builder)
To create a form:
- Click the Form Builder menu item on the left-hand side.
- You’ll be brought to a list of all your Forms. Click the “Create New Form” button on the top left.
- You’ll be brought to this screen where you’ll name your Form. This is for your use only and is not published on the website.
4. Click the blue Create button where you’ll then be brought to this screen: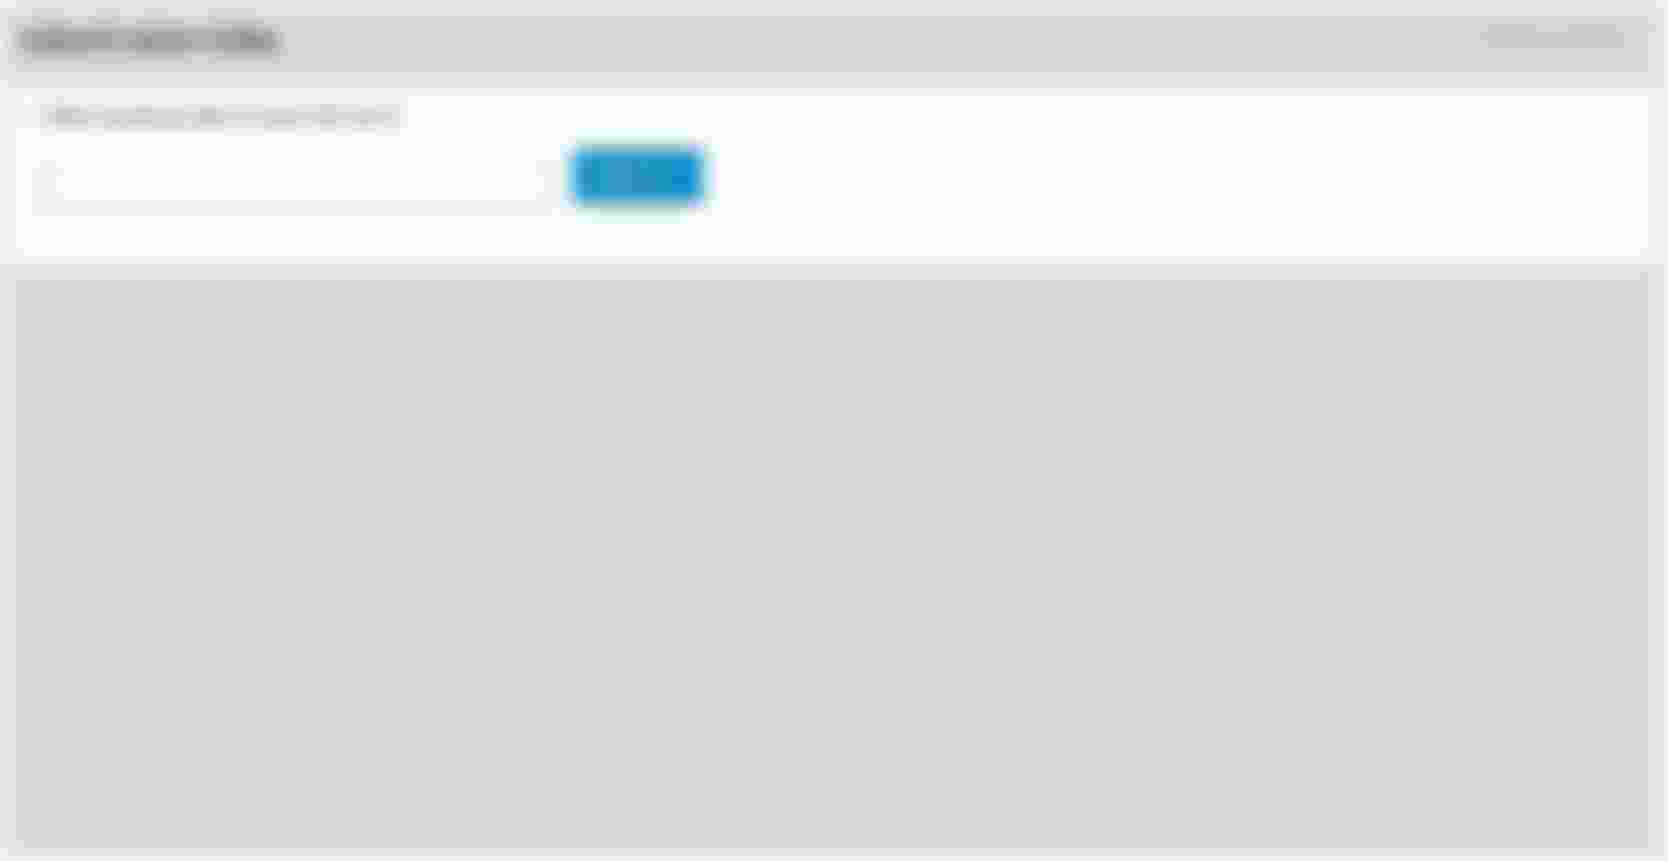
Example of the What would you like to name this form? field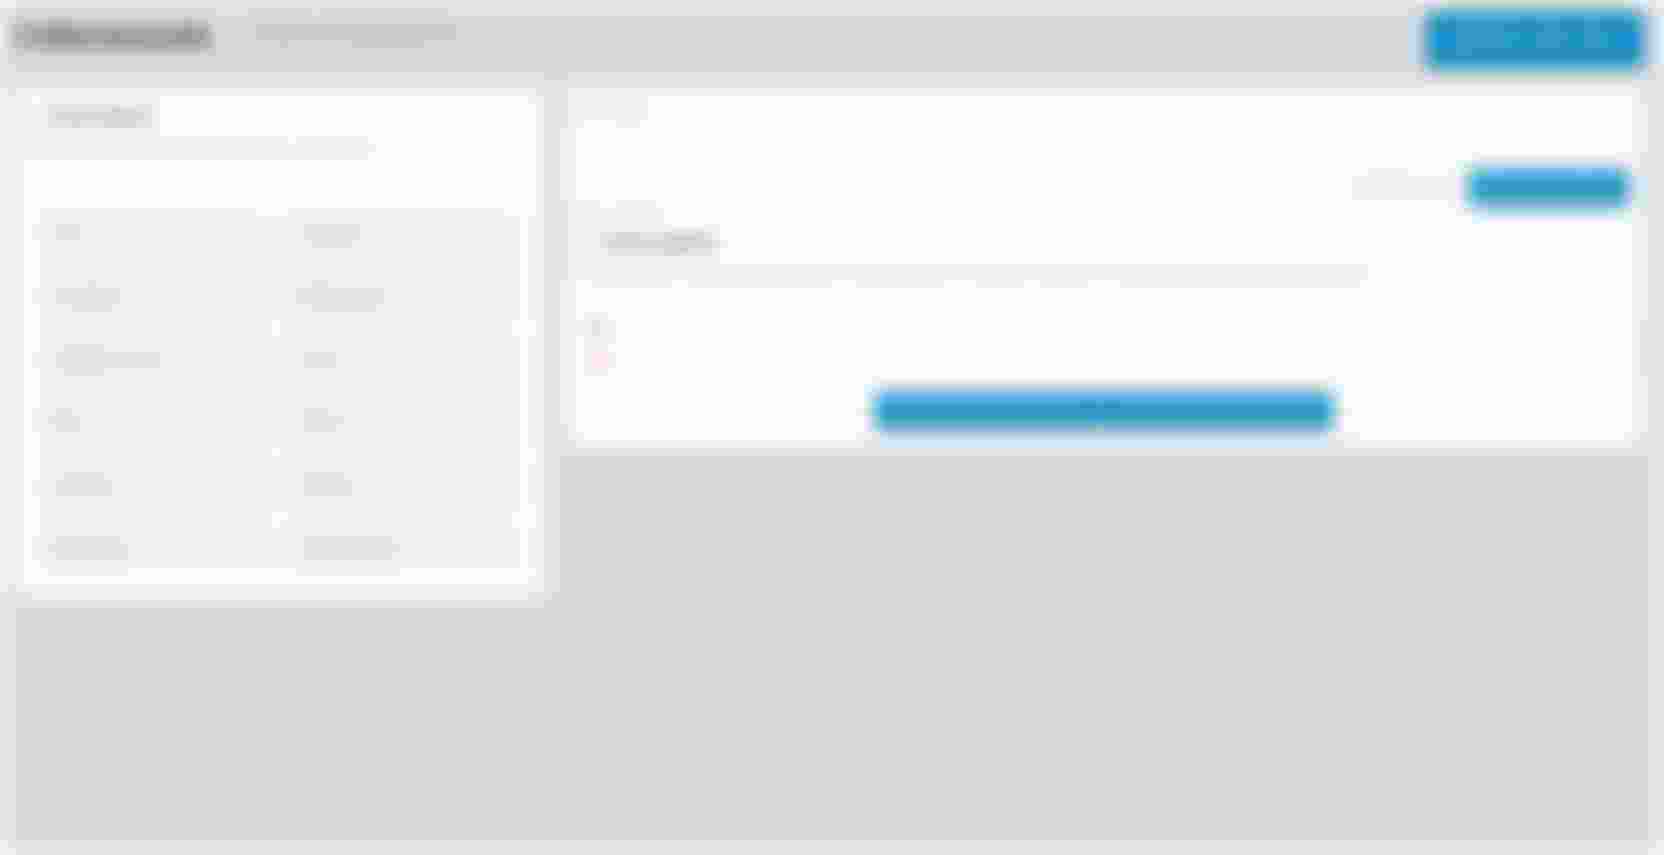
Example of the Form Builder - In the “Form Name” field enter a name for your form.
- Begin by adding either a single column row or double column row.
- Then, from the Form Items selection on the left, drag items to the form layout section to add a field.
- Text
- Textarea
- Chatbox
- Radio Button
- Dropdown Menu
- Date
- Phone
- Currency
- Number
- File Upload
- Submit Button